Using registration forms, you can ask questions to your event’s buyers or participants. They are displayed at step 2 of the order process.
1. Creating a form
- Connect to your account then click on the event of your choice
- Go to the menu Configure > Forms > Create a form
- The instructions given in the form’s introduction can be customised from Configure > Ticketing options > Custom message
- You can create as many forms as there are ticket types for sale for your event. You cannot assign two separate forms to a single ticket type.
Tip: If you create several forms, name each with the corresponding ticket type to make it easy for you to organise them
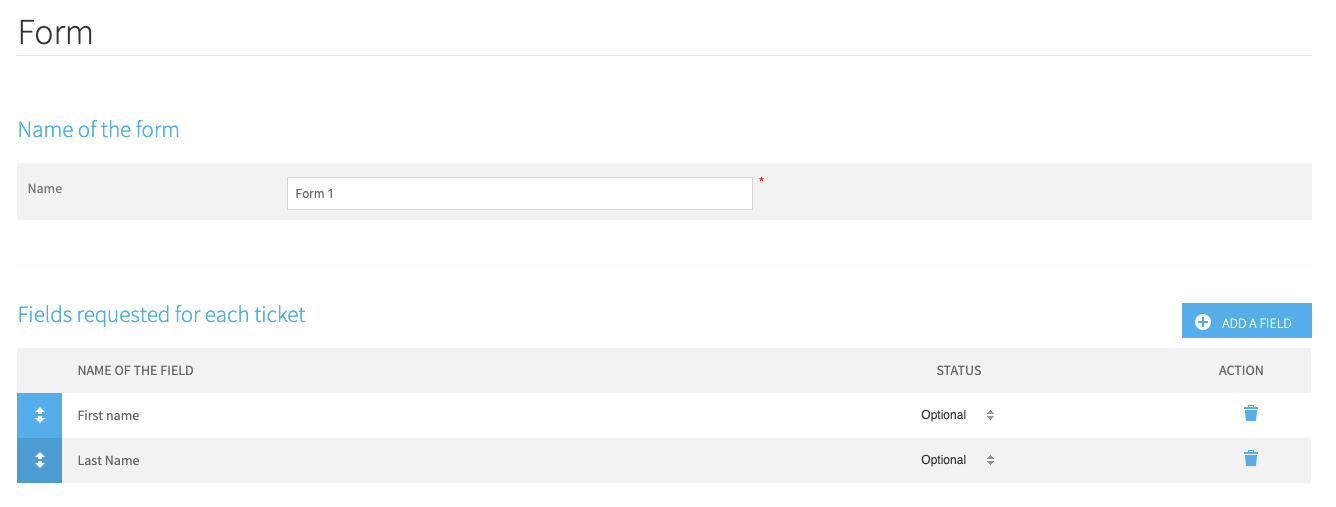
2. Adding a field
Adding a field will help you collect more information about each participant. Each field can be:
- Mandatory or not. If the field is mandatory, the buyer will not be able to continue without answering that field.
- Asked to the participant or the buyer. That way, when a buyer places an order for X number of tickets, you can choose to collect information from the buyer only or from the buyer AND each participant. For instance, if you collect the first and last names of each participant, the tickets can be nominative. Alternatively, all tickets will display the name of the buyer.
Tip: for a comprehensive database, it is useful to collect information about all participants. Be careful not to overload the buyer with questions s/he may not be able to answer. Ask only those questions that are relevant and useful
You can edit the display order of each field within the form using the white double arrows on the left of each row: select the row and move it to where you’d like it to be.
To edit a field (question title, answer format), click on the star wheel on the right-hand side.
To delete a field, click on the bin on the right-hand side of each field. Deleting a field cannot be undone. Data collected by this question will remain available in your .csv export if some participants had replied to the question.
Important: If you would like to make tickets nominative and offer the possibility to change the participants’ first and last names, you must create these fields in the section “fields asked for each ticket”
2.1 Pre-defined fields
Weezevent defined a series of fields frequently used by event planners. Select the fields of your choice to add to your form.
2.2 Custom fields
Create your own question, and choose the appropriate response format among the following:
- Text field
- Comment field (the box where the buyer can type text is bigger than that of a simple text field)
- Drop-down list
- Attachment (to be uploaded by the participant) - only jpeg, jpg, gif, png, pdf and doc formats are accepted
- Date field
- Section title (to organise your form)
- Tick box (they can be ticked by default if you’d like)
- Country field
For each custom question, you can type a comment that will be displayed below that question to give more information.
2.3 Fields asked to the buyer
By default for online orders, the buyer must fill the following fields for each order: first and last name, email address and confirmation of the email address. This is mandatory to validate the order.
However, you can delete these fields in your form so that they are not asked for offline orders (manual, on location).
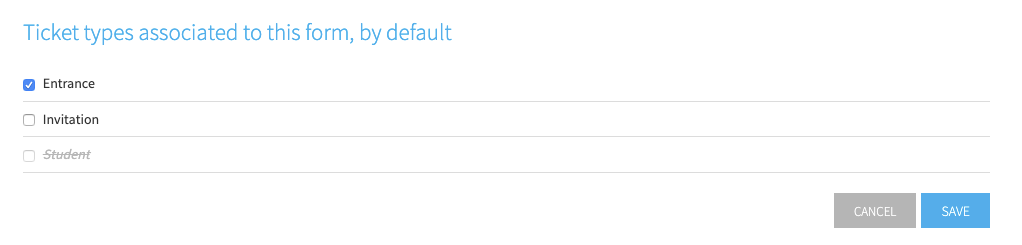
3. Activating the form
Tick the ticket type(s) that the form you just created will apply to, then click “Save” to record your form.
4. Managing your forms
Use the icons on the right-hand side of the screen to:
- Preview the fields that will be displayed to the buyers and/or participants
- Edit a form
- Duplicate a form
- Delete a form
Important: Deleting a form cannot be undone, you can nonetheless find any data previously collected in Excel exports from the section Manage attendees.
5. Apply a form to box office sales on location
Several options can be considered to activate a form for sales on location. You can:
- Use the forms created for online sales
- Create special forms for sales on location
- Choose not to use a form for your sales on location
To set this up we recommend that you read the “form” section of our articles about Creating and setting up a ticket office.
6. Use the data
Go to Attendees > Manage attendees in your event to access the data about each registration.
6.1 Edit the data
Click on a ticket to view the details and see the information filled by the buyer at the time of purchase. You can manually edit the buyer information and/or that of the participant by clicking on “ Edit”. Save your edits to update your database
6.2 Export the data
All the data filled in the form by the buyers or participants can be exprted in .csv (excel) format from your order management dashboard. In the section Attendees > Manage your attendees, click on the Download button.