Why should you use one or more ticket office(s)?
A ticket office will help you:
- sell tickets on location on the day of the event
- allocate a sales space to a partner (tourism office, shop, sponsor, etc.)
To sell tickets using the ticket office, you must first purchase credits (€0.20 excl. tax) that will be added to your Weezevent ticket office account. Each credit used is deducted from your balance.
Read our article about ticket office credits for more information.
1. Creating a ticket office
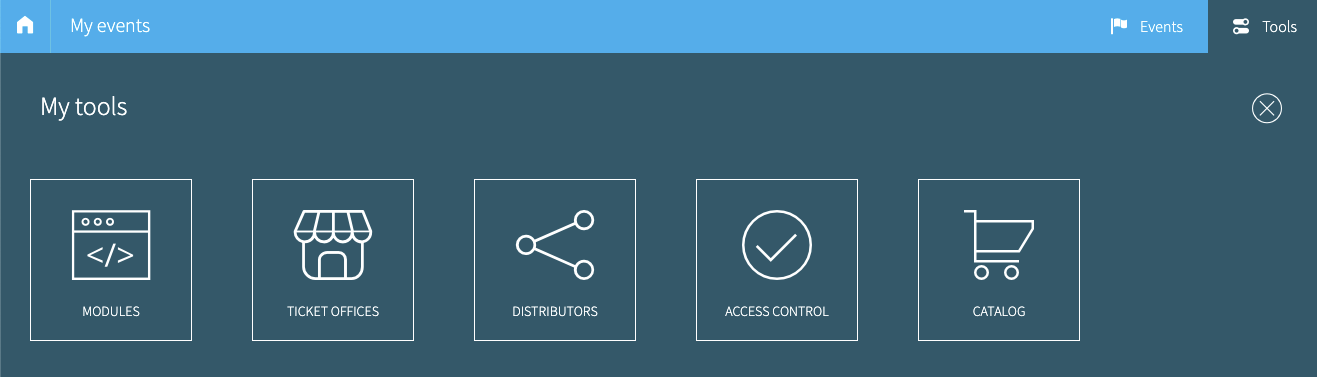
To set-up a ticket office, go to the Tools section on the top right of your screen after you have logged in to your account. Then click on Ticket offices.
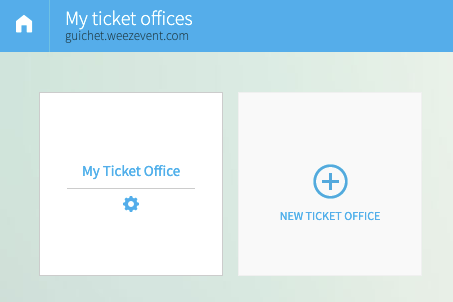
You can create as many ticket offices as you need. For instance, you can create a ticket office for your own organisation (to be used for sales on location), or various ticket offices for your business partners selling tickets for your event.
2. Setting-up the ticket office
2.1 Managing events and ticket types for sale on the ticket office
By default, all events created are put up for sale on ticket offices, unless:
- the event was deleted
- the event is finished
- the event is not yet published
- you have specifically chosen not to put it up for sale on the ticket office
For each event created, you can click on Manage the events to edit the event’s settings on the ticket office. You can:
- choose to withdraw the event from the ticket office
- add a specific form (or by default use the form linked to your ticket type)*
- restrict the overall quota of tickets for sale for that event*
- restrict the quota per ticket type sold through the ticket office
- accept or refuse discount codes
- adjust, for each ticket type, the sales status in the ticket office
* Quotas and forms can be set-up 2 ways from the Manage the events menu:
- For the whole event: click on the star wheel (in Settings) and choose the form to use and the overall quota of tickets for this event in the ticket office.
- For each ticket type: click on "choose the ticket type" then the star wheel of a ticket type to edit it and choose the form to be used. You can thus set the criteria for all the tickets in the ticket office and create an exception for a specific ticket type.
- No commission is retained on tickets sold from the ticket office but we apply a credit system for each ticket type created. You can create “ticket office prices” from your event, hide them from the ticket module on your minisite (by clicking the blue eye then Configure > ticket type and selling) and link them to the ticket office only.
2.2 Managing operators
For each ticket office, you can create an “operator” profile: each user can access ONE ticket office. Each ticket office can therefore be managed independently by one or more operator(s).
To add an operator, you must enter:
- a user name
- an email address: you can use a “real email” where the closing balance will be sent but you can also access the closing balance from Ticket office > Reports > sales book. To save time, you can also use a dummy email address such as operatorname@event.com
- a login password
Please note: You need to create as many operators as there are people who will manage the ticket office. For instance, if 2 people from the same tourism office will sell tickets from the ticket office, you will need to create 2 operator profiles. Two people cannot be connected to one ticket office from two devices at the same time using just one operator account
2.3 Ticket office settings
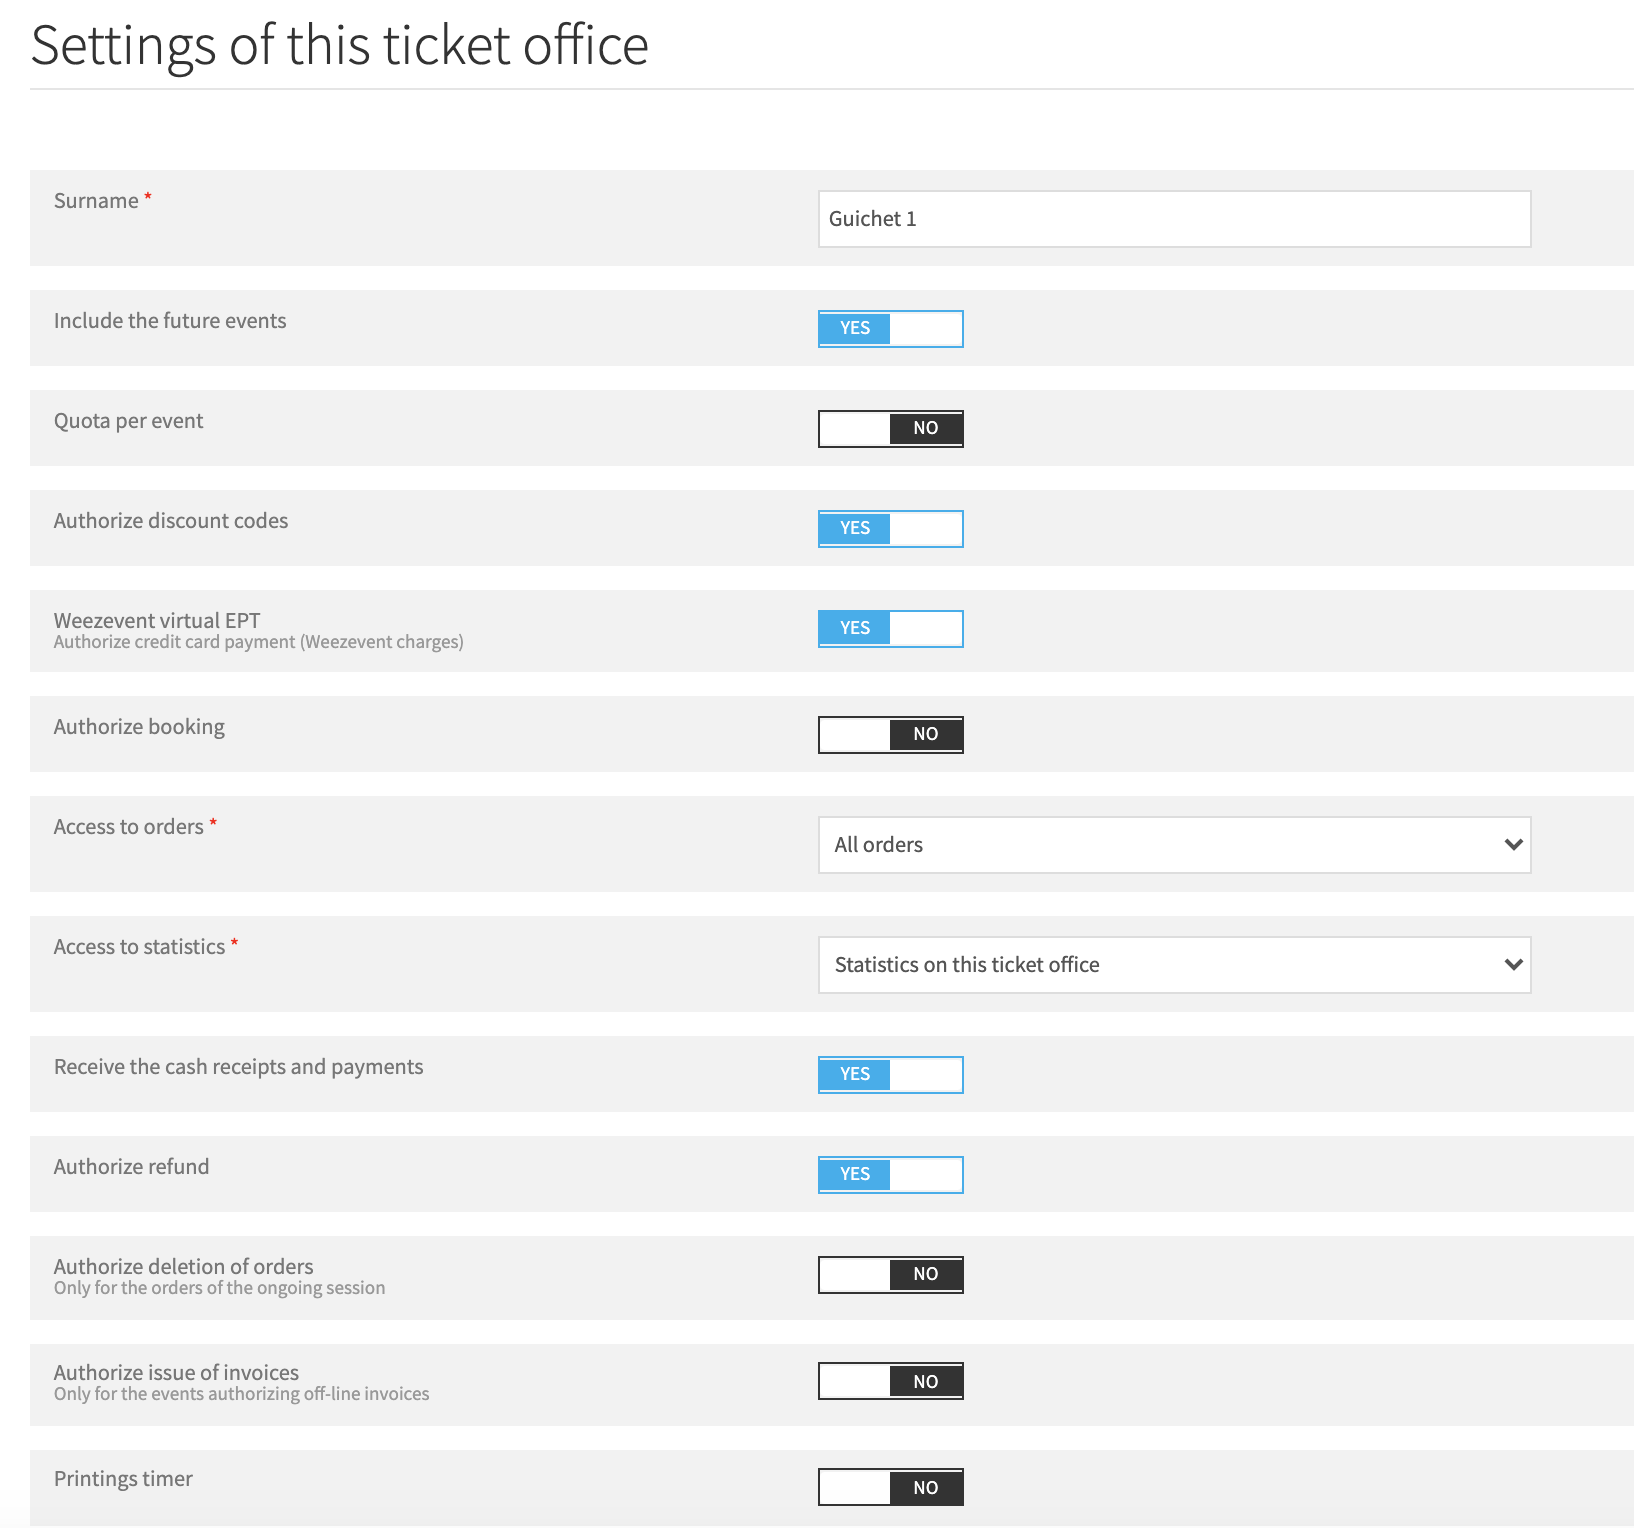
They help you manage the default settings of any new event you create. You can:
- automatically sell any new event you create from the ticket office
- specify, by default, a maximum sales quota for any new event on the ticket office
- automatically accept discount codes for new events
- allow each ticket office to accept and confirm bookings
- manage access to orders:
- All orders > Operators can see and edit all orders, including online ones.
- Ticket office orders > Operators can only see and edit the orders placed from that ticket office.
- Operator’s orders > Operators can only see and edit the orders placed by themselves from that ticket office.
- No order > Operators cannot see nor edit any order.
- manage access to statistics:
- Statistics on this ticket office > Operators can see statistics of all operations from this ticket office.
- Operator’s statistics > Operators can only see the statistics from their own sales on this ticket office.
- No statistics > Operators cannot access the “Statistics” tab.
- receive a cash or payment receipt or not
- allow refunds
2.4 Reports
The reports available from your interface are split into two categories:
*Sales book: revenues, ticket sales
*Cash receipt and payments: refunds if that option was activated
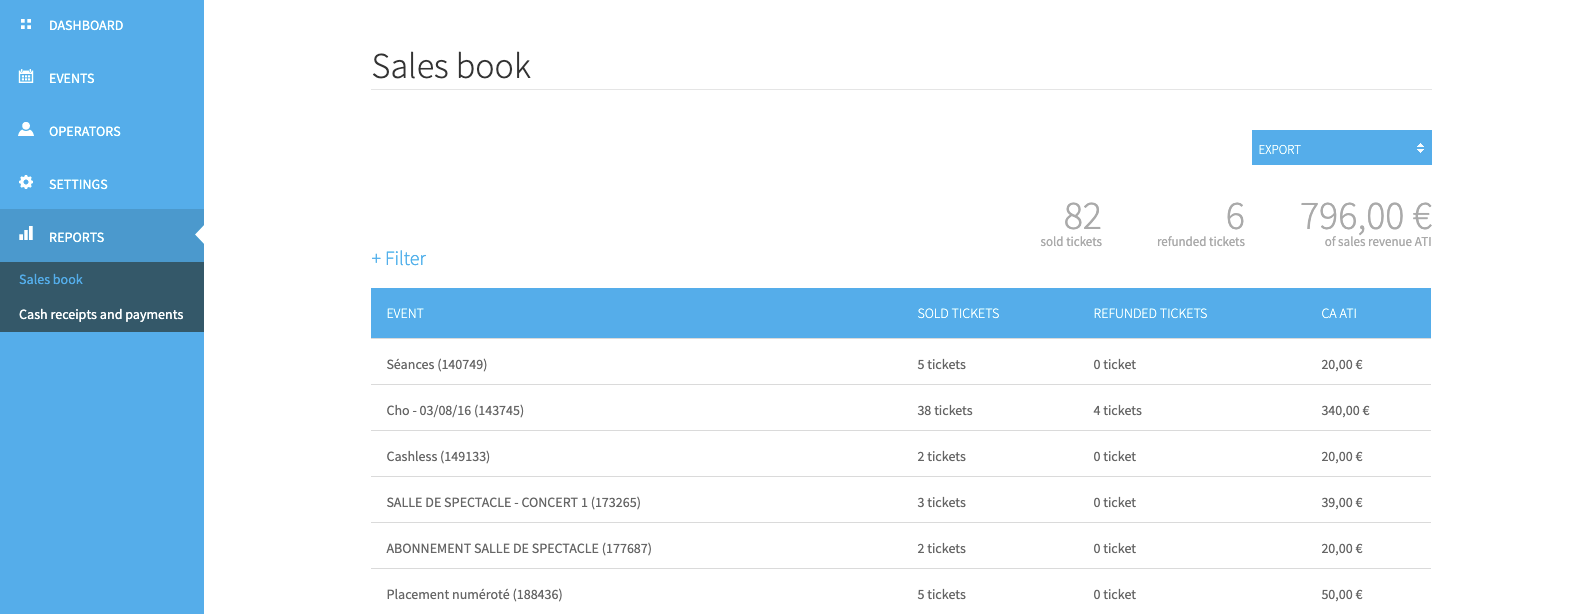 Sales book: Three types of exports are offered:
- Sales summary (PDF format)
- Payment book (payments list, csv format)
- Order book (ticket list, csv format)
Cash receipts and payments: This document lists the sales generated from the ticket office in a sales session by a user and by means of payment. This helps with checking the ticket office balance. An export of each payment can be downloaded in PDF format.
Note: registrations made through the ticket office appear in your order management interface as a “standard” (unpaid) registration. They appear in the payment section as a special “registration” line and are not accounted for in the balance
3. Using the ticket office
To sell using the ticket office, the user must go to http://guichet.weezevent.com using Google Chrome (recommended for the ticket office). They will log in using the details you will have created beforehand. Once connected, ticket office sales can start!
To receive guidance on how to use the ticket office as an operator and manage the point of sale settings, read our article: Using a ticket office