Once your event has been created, you can move on to planning all the associated shifts.
Create a Shift
In your event, the Shifts module is accessible via the vertical menu on the left-hand side of the interface.
Click on the Create a shift button.

Required Information to Create a Shift:
General Information
Provide the shift name and select the relevant category. This categorisation helps structure your event by different areas and simplifies the creation of custom views to segment volunteers by role.
You can also:
- Add a representative icon
- Define an acronym
- Choose a colour for visual identification
These visual elements improve the overall clarity of the event structure.
Add a description: Use this to detail the tasks and expectations for the role.
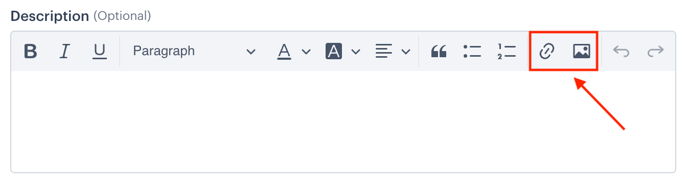
Tip: You can enrich the description with photos, videos, or links to provide helpful information for your teams.
2. Time Slots
Set the overall time range for the shift, and divide it into smaller time slots during the day if necessary.
For each time slot:
- Specify the number of required volunteers
- Adjust the duration based on the specific needs of the role
The number of volunteers per slot may vary depending on needs and expected turnout. Adjust accordingly to fit on-the-ground realities.
Note: Shift time slots can be modified at any time to suit the evolving needs of your event and logistics.
3. Location
Specify the location of the shift using:
- A postal address
- GPS coordinates
- Or a specific point on a route map
This helps members know exactly where they need to be during the event.
4. Access Conditions
Depending on the shift, you may define prerequisites such as:
- Specific skills (e.g. driving licence, first aid certification, foreign language fluency)
- Minimum age
- Particular physical ability
Examples:
The “VIP Welcome” role is only open to volunteers who speak English.
The “Marshal” position is only accessible to members with a driving licence.
These criteria are included in the registration form to ensure that volunteers are only shown shifts suitable to their profile. Assignments are filtered automatically based on their responses.
5. Private Notes
If needed, add internal notes about the shift—such as equipment needs or specific instructions.
These notes are visible only to administrators and will not be shared with members.
6. Tags
Assign keywords to your shifts to make filtering and creating custom views easier.
Example: by location, by day, by theme, etc.
Now that your event and shifts are created, you can start configuring your registration form(s) by following this article.